I’ve had a few readers ask me how I made my lightbox. Well, I found everything I needed at Walmart.
You’ll need:
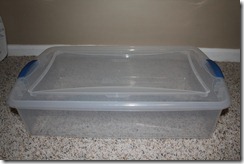
Plastic storage container: I got a long, shallow one because I wanted it to be lower for J and with a bigger work surface. $7.00
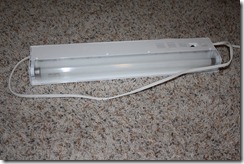
Under counter light: I like this because the light is more uniform than using twinkle lights. I got the longest one that would fit inside the box. $7.00
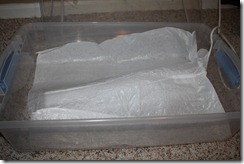
White tissue paper: I wanted to distribute the light a bit better and not make it quite so harsh, so I threw in a piece of tissue paper. I was worried that it would make the box a fire hazard, but it doesn’t seem to get too hot and I don’t leave the light on for extended periods of time. $1.00
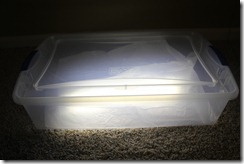
I just let the cord run under the lid and snapped the lid on.
There you go…a lightbox for under $15.00!
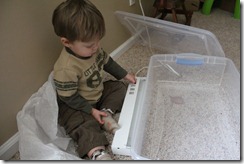
Here’s J figuring out how it works.


Oh that’s a really great idea! I love a light box that doesn’t require any tools.
How do you think this light boxes activity will contribute the chils’s development?
Fatma
I love this idea! Gonna try it!
Thanks so much! One of my “New Year’s Resolutions” for 2013 is to do one messy activity each week with my two tots (boys, 2 1/2 and almost 4). I absolutely love this light box idea, especially since I can make it work in the bathtub–one of their favorite places! I think I’d use whipped cream instead of shaving cream, since my younger son puts everything in his mouth!
By the way, I also love the name of your blog–way to keep it real! 😉